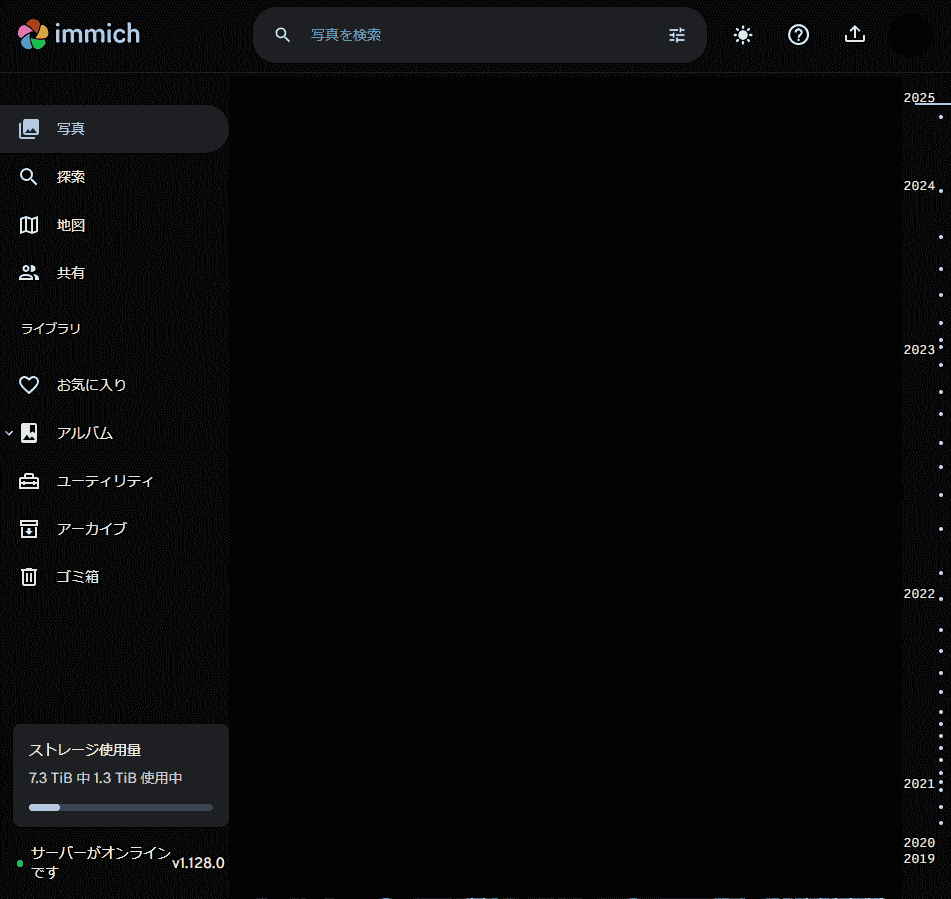
What is Immich?
Immich is an open-source platform that allows you to privately manage photos and videos on your own server. Designed as an alternative to Google Photos, it offers features such as automatic backups, fast search, AI-powered image recognition, and sharing capabilities.

Key Features of Immich
- Privacy-Focused: All data is stored entirely on the user’s server, eliminating reliance on cloud services.
- Automatic Backup: Photos and videos can be automatically uploaded using the mobile app.
- AI-Powered Organization and Search: Features face recognition, object detection, and GPS-based filtering.
- Simple UI/UX: Offers an intuitive interface similar to Google Photos.
This article will guide you through the installation process of Immich on a Windows environment.
Installing Immich on Windows
Install Required Software
To run Immich on Windows, Docker is required.
Enable WSL2
Since Docker relies on Windows Subsystem for Linux (WSL2), it must be enabled first.
- Open PowerShell in Administrator Mode and run the following command to enable WSL:
- Restart your PC.
- Open Windows Terminal and install a WSL distribution, such as Ubuntu, from the Microsoft Store.
wsl --install
Install Docker Desktop
- Download Docker Desktop for Windows from the official Docker website.
- Install Docker Desktop following the on-screen instructions.
- Launch Docker Desktop, go to Settings → General, and enable “Use the WSL 2 based engine”.
- In Settings → Resources → WSL Integration, enable Ubuntu (or your installed WSL distribution).
- Open PowerShell or Windows Terminal and check the installed distributions with:
wsl --list
Set Up Immich
Clone the Immich Repository
- Open WSL Terminal (Ubuntu or your chosen distribution).
- Create a working directory for Immich:
- Clone the official Immich repository to get the necessary Docker configuration files:
mkdir -p ~/immich && cd ~/immich
git clone https://github.com/immich-app/immich.git cd immich
Configure the .env File
- Copy the example environment file:
- Open the
.envfile using a text editor: - Modify necessary settings such as database configuration, storage paths, and ports to match your environment.
- If needed, edit
docker-compose.ymlto adjust ports and storage paths: - Save the changes and exit the editor (
Ctrl + X, thenYto confirm).
cp .env.example .env
nano .env
nano docker-compose.yml
Immichの起動
- Run the following command to start the Immich containers:
- Verify that the containers are running:
- Open a web browser and access Immich’s admin interface at:http://localhost:3001
If everything is set up correctly, you should see the Immich login screen.
docker-compose up -d
docker ps
Initial Setup of Immich
- Open your web browser and go to:http://localhost:3001
- Register the first user (this will be the admin account).
- Download and install the Immich mobile app from the Google Play Store or Apple App Store.
- Open the Immich app, connect to your server, and configure automatic backup for photos and videos.


Summary
You have now successfully set up Immich on Windows! This solution is ideal for those who want a privacy-focused alternative to Google Photos for managing photos and videos.
For further enhancements, you can:
- Configure external storage for better scalability.
- Customize AI features to improve image recognition and search capabilities.
For more details, refer to the official documentation:
🔗 Immich Official Website


コメント